Guide
How to Uninstall iTunes in Your Windows 10

If you use Windows and wish to organize and listen to your music library, iTunes has long been one of the most popular options available to you. This is due to the fact that iTunes gives its users the ability to organize their files in a way that makes it very easy for them to find their chosen performers and songs. Users are able to use iTunes to not just listen to podcasts but also manage their iPhones and stream Apple Music through the application, making it a one-stop shop for anything and everything related to music.
If, on the other hand, you have moved on to Spotify or another music software and no longer need iTunes, you may easily and quickly uninstall the iTunes program from Windows by following the instructions that are provided in this article. The good news is that doing so will not immediately lose any of your music files; hence, you will be able to keep your songs even if you do not utilize the laborious tool that Apple provides. This guide will walk you through the steps necessary to uninstall iTunes from Windows 10.
Read Also: How to Trim Video on Your Windows 10
How to Uninstall iTunes in Your Windows 10
By using the Control Panel
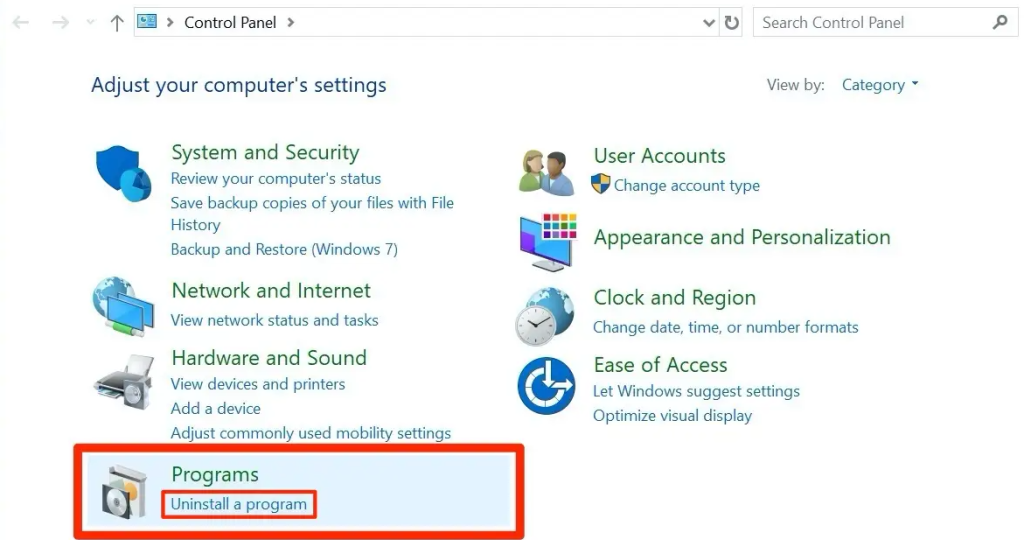
1. You may search for “Control Panel” by using the search bar that is accessible in the Start menu. Once you have found it, you can start using it by selecting it from the list of applications that were returned by the search.
2. To uninstall a piece of software, go to the menu’s “Programs” section and click the option that says “Uninstall a software.”
3. Once the new list of programs has been displayed, place your cursor at the very bottom of the screen, and then click once on iTunes to select it as your favorite media player.
4. To remove the program from your computer, locate the navigation bar that runs across the top of the page, and then select “Uninstall.”
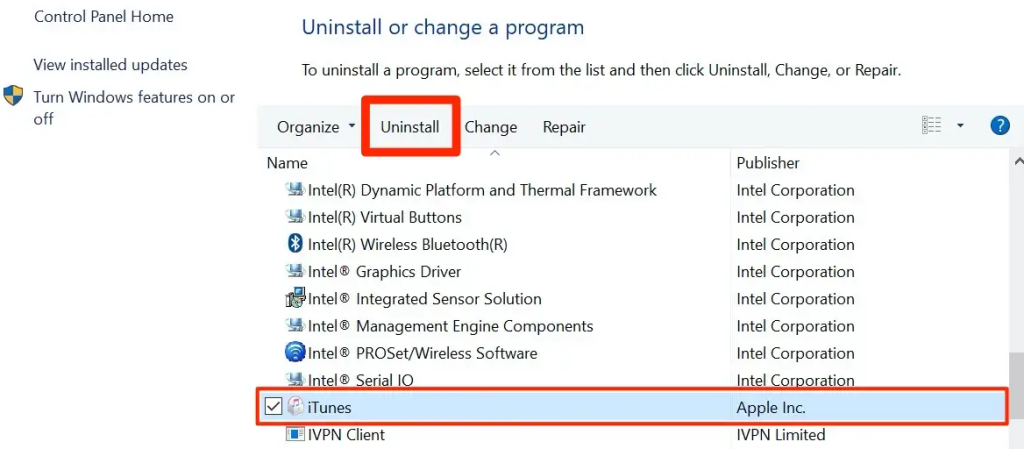
5. When the popup that asks you whether you are sure that you want to remove iTunes appears, click “Yes,” and the software that uninstalls iTunes will then begin operating. If you are unsure whether you want to erase iTunes, you may always reinstall it at a later time.
By using the Settings app
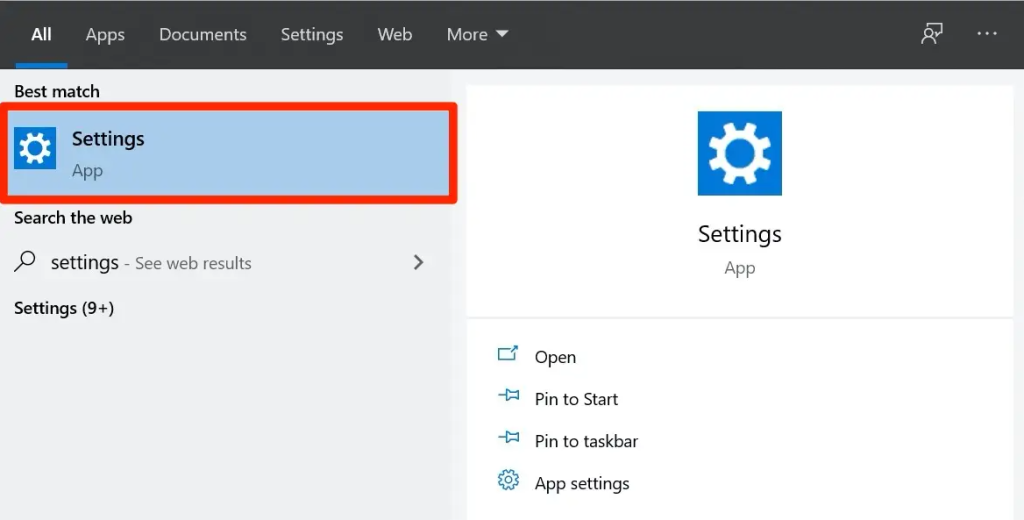
1. From the primary menu, click “Start,” and then from the keyboard, input “Settings.” This will take you to the settings page.
2. From the list of search results, navigate to the “Settings” app and choose its name to open it. This will give you access to the “Settings” app on your device.
3. While you are in the Windows Settings menu, navigate to the drop-down menu that displays and select the “Apps” option.
4. Navigate to the part of the interface labelled “Apps & features,” scroll down the list until you locate iTunes, and then click on it.
5. With just one click in iTunes, you may see all of the many programming alternatives that are currently available to you.
6. Select “Uninstall” from the available options in the menu.
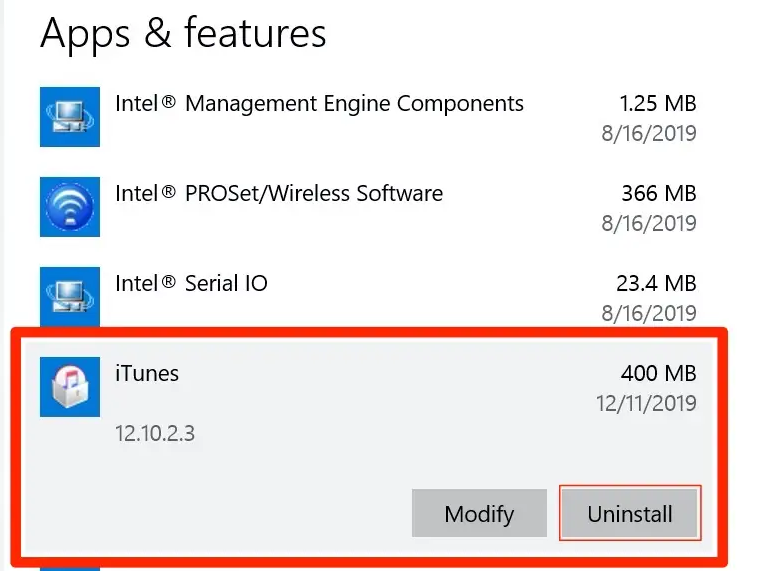
7. When the pop-up window that asks you to confirm your choice opens, click “Uninstall” a second time to proceed. After that, all traces of iTunes will be removed completely from your own computer.
FAQs
What repercussions will there be if I remove iTunes from my computer?
Uninstalling iTunes does not remove your tracks. On the other hand, a multitude of other things, such as infections, errors, and failed hard drives, also do.
Will uninstalling iTunes delete backups?
Even though a lot of people are happy with iTunes, there are some people who aren’t happy with it and would rather use other apps instead of iTunes. It is critical for these users to be able to remove iTunes without compromising the music they have backed up or the settings on their devices. You will be able to uninstall iTunes without losing your backups if you copy the appropriate directories before doing so.
Do you lose your music when Apple Music expires?
Your library will be cleared of any Apple Music tunes that were previously stored there. In exceptional circumstances, such as when there is a very short gap between the subscription’s expiration and its renewal, the items may be kept, but in most cases, they will be deleted from your library not long after the subscription has ended.

Vampire Crawlers Coin Farming Guide

Forza Horizon 6 Performance: Why 60 FPS Is Still the Console Standard

Yoshi and the Mysterious Book (2026) – Full Completion Guide, Rewards & Secret Ending

How to Get Free Pets in Adopt Me: A Guide for Players

Roblox Username Generator – Create a Cool & Unique Username in Seconds
How to Get Free Pets in Adopt Me: A Guide for Players
Yoshi and the Mysterious Book (2026) – Full Completion Guide, Rewards & Secret Ending
Forza Horizon 6 Performance: Why 60 FPS Is Still the Console Standard


