Travel
A quick guide of setting up Salesforce to Jira integration
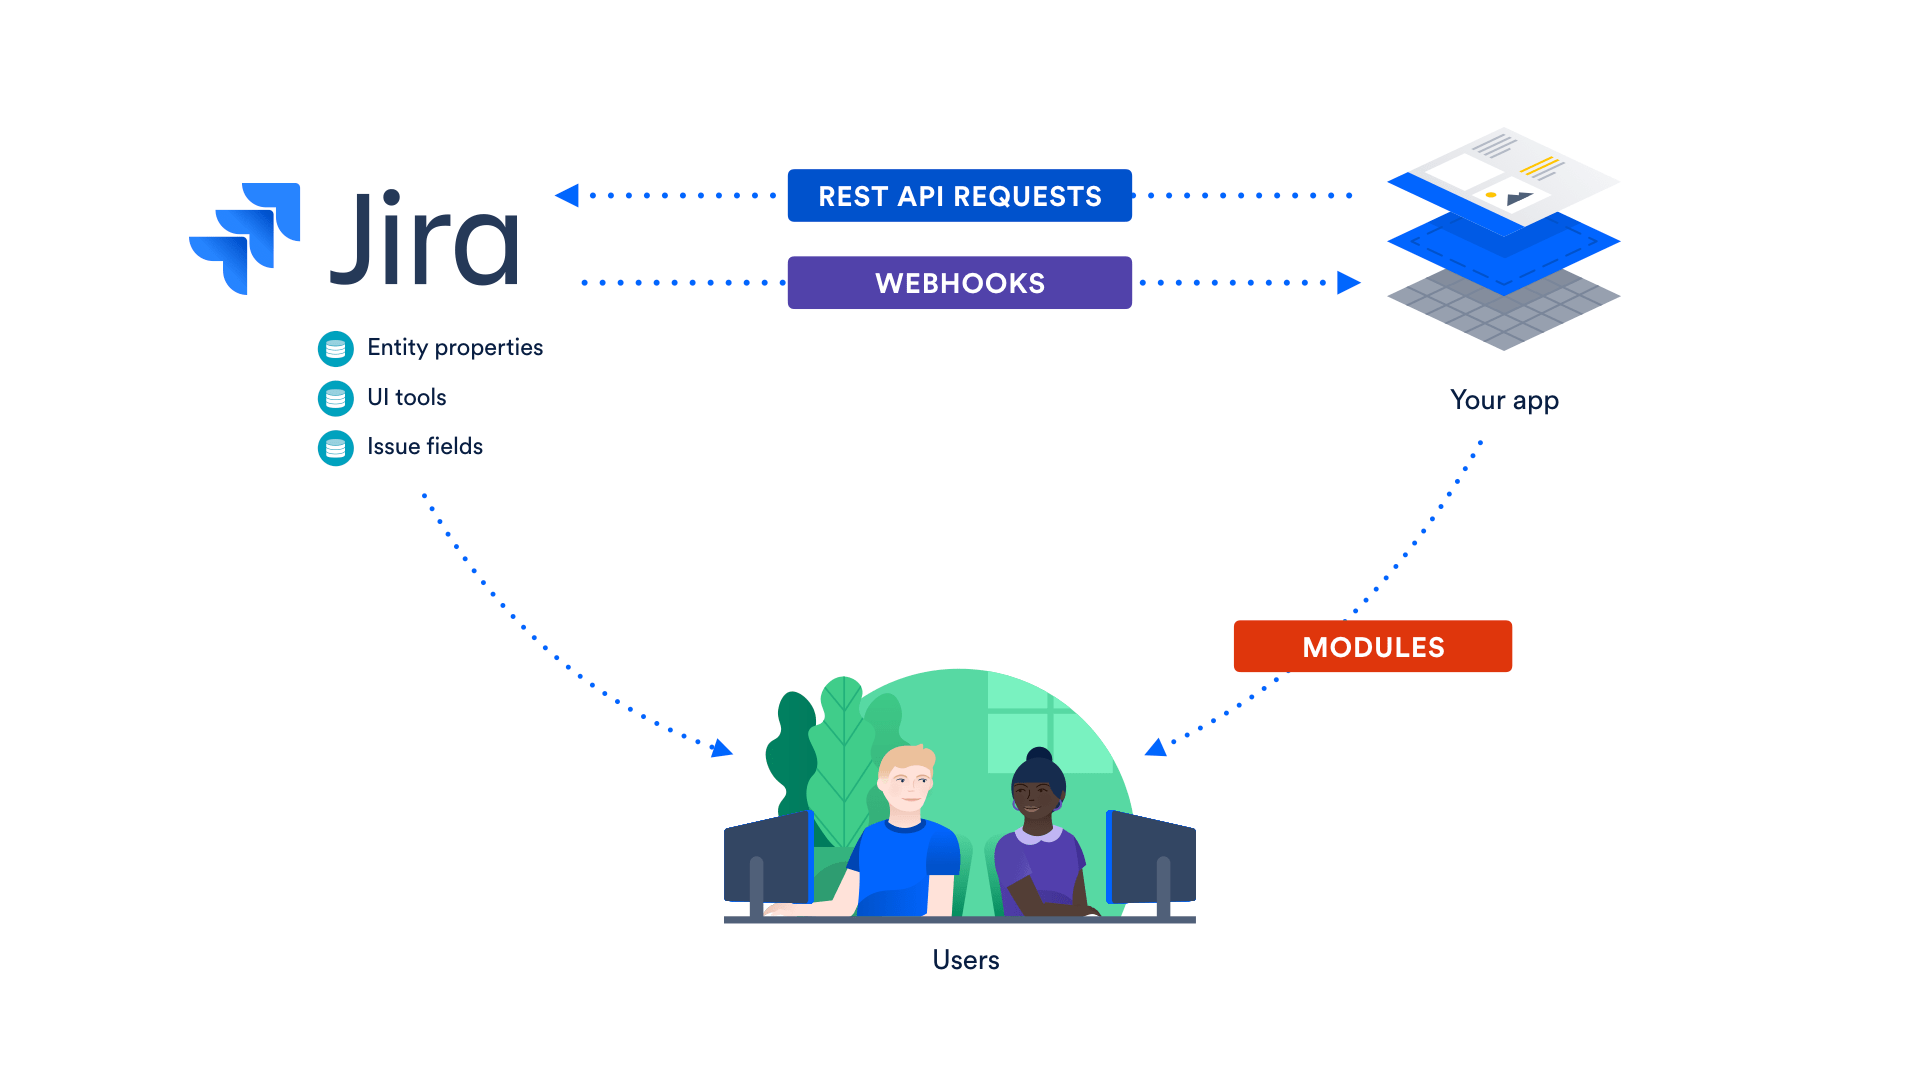
Jira is software that helps manage your things and keeps you updated about your progress. Jira Software is a professional to meet the need of any project. Teams can use a project template as a starting point or develop their bespoke procedure. So, you might want to know about how to set up salesforce to Jira integration.
Jira issues, also known as tasks, keep track of each piece of work completed through the workflow processes. Admins can also choose who can see what. The permissions to specific files are custom for more security. You can generate reports with all project information in place to track progress, productivity and ensure nothing goes wrong.
What is Salesforce? How to set up Salesforce to Jira integration?
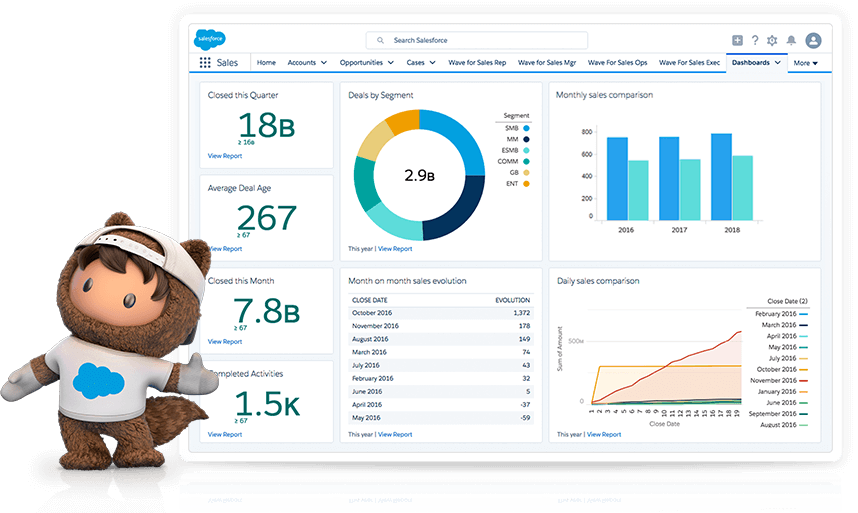
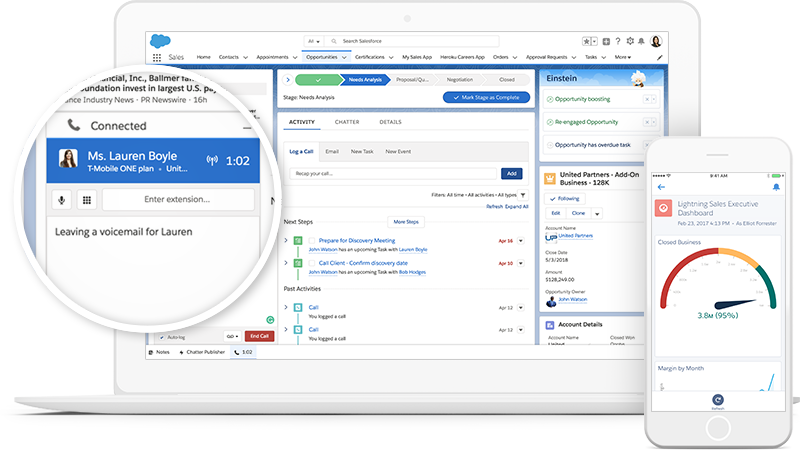
Salesforce is a customer relationship management cloud computing service as software that small businesses use to keep track of their business. It makes an organization better communicate with customers, partners, and potential customers by utilizing cloud technology.
The software has risen to the top of the customer success rankings, allowing firms to track customer behavior, promote to customers, and do a variety of other tasks.
What is the main reason for merging Jira and SalesforceSalesforce?
The main benefits the Salesforce to Jira integration provides are as follows:
- Details are synchronized bi-directionally, effortlessly, and making it easier for teams to communicate—all of this without having to leave their current platforms.
- Without interfering with one another, each person will individually control what information is given to and received from the other side.
Salesforce to Jira integration provides us with two in one as Jira offers a complete view of customer complaints, feedback, and questions. On the other hand, Salesforce allows developers to respond to feature requests or dev upgrades quickly.
- You can automate back-office operations just like licensing and contracts by simply transferring important information between Jira and Salesforce.
- In Jira and Salesforce integration, you will get regular, easy to get to, and precise information.
- Automatically manage business failures and outages without any need for human intercession. As a fruitful output, your system is always up to date with the most recent data.
Which tool to use for Salesforce to Jira integration?
Choosing the right tool for such an integration is critical. There are many ways to connect them. We have to first have accounts in SalesforceSalesforce as well as in Jira. Buy the subscription by choosing the favorable package.
The first method for SalesforceSalesforce and Jira integration is:
We chose “Exalate” since it includes all of the capabilities by default. It contains a scripting mode that is ideal for advanced or complex use cases, making it versatile.
-
First, install Exalate on Jira:
- To do so, pick “Apps” from the wrench symbol on the upper right side of your Jira screen.
- Select “Find new apps” in the left-hand menu.
- In the Atlas Sian Marketplace’s search field, type “Exalate.”
- “Exalate Jira Issue Sync & More” or “Free trial” should appear.
- After that, follow the wizard’s instructions for installation.
- It’s a simple procedure
2. Purchase Exalate for Salesforce:
- Exalate for SalesforceSalesforce is currently only accessible as part of an Early Access Program.
- Visit the integrations page for further information. Select SalesforceSalesforce as your tracker, then fill out a form and submit it. An email will be sent to you.
- Meanwhile, in SalesforceSalesforce, go to “New Connected App” by clicking the gearwheel icon in the top right corner, then Setup, select Apps, go to the App Manager.
- Fill out the app’s required fields. Activate the OAuth settings, add scopes, and save the changes.
- Then open the email you received from Exalate.
- Follow the installation wizard steps to set up Exalate for Salesforce.
- Once both sides have been placed, move to step 3, that is:
3. Connect Jira and Salesforce:
- To establish a link, one party must initiate it, and the other must accept it. It makes no difference whatever side you begin on.
- Let’s suppose you’re starting with Jira. Exalate’s left-hand menu contains “Connections.” Then select “Initiate Connection” from the drop-down menu.
- Enter the destination instance’s URL, for example, SalesforceSalesforce.
- New fields emerge after a while, inviting you to select the configuration type. Exalate comes in two flavors: basic and script.
- For simple integration instances, the fundamental mode is best. It comes with pre-defined Jira and Salesforce entity mappings that one cannot change. It also includes a Free Plan.
- Select the Jira project with which you want to synchronize Salesforce entities in this manner. Then, on the Salesforce side, confirm admin access and begin synchronizing your first problem or Case right away.
- Exalate’s Script mode is recommended for sophisticated use cases.
- On the Jira side, give your Connection a name and a description, then choose the project.
- Make a note of the invitation code.
- Then, on the “Connections” page of the Salesforce Exalate dashboard, click “Accept Invitation.”
- In the text area, paste the code.
The Connection is successful after verification.
4. Configure the Connection so that data can be shared.
- You may now choose what data is shared across these tools by configuring the Connection.
- To do such a thing, go to the “Connections” tab and click the modify connection button next to the connection name, or use the “Configure Sync” button shown above.
- Sync rules on both ends of the Connection are used to configure the Connection.
- Adding scripts allows you to communicate or receive more information.
- Alternatively, you can delete or comment on the sync rules to cease transmitting or receiving current information.
5. Create synchronization triggers that are automated.
- You can also construct circumstances known as triggers, which synchronize data based on the rules you’ve set up.
- You can make them by going to the modify connection screen and picking “Triggers.”
- To make a new one, click “Create Trigger.”
- Select the Jira and Salesforce entities you wish to add the trigger to on the “Add trigger” screen.
- To add the query condition in the “If” section, use Java Query Language for Jira or Salesforce Object Query Language for Salesforce.
- Make some “Notes” to help you figure out why you made the trigger. Then select “Active” and then “Add.”
- Once you’ve done configuring the Connection, click “Publish”!
6. Begin to synchronize information.
- Data is automatically synchronized when you create triggers. Using the “Bulk Connect” option, you can even sync existing entities in bulk. Wait for information to emerge on the other side, regardless of which choice you choose.
The second method:
-
Jira should be updated to include the connector plugin.
Navigate to the app marketplace from your Jira dashboard. Connector for Salesforce is a plugin that can be found by searching for it and clicking on it. Then, to add the connection plugin to your Jira installation, click Try it free. A dialogue box should appear, alerting you that the plugin was successfully installed.
-
Select the appropriate Salesforce connectivity plugin.
You will have to choose between two editions of the connector plugin in Salesforce to find the right one. The server edition is for integrating with Jira’s on-premises server version, whilst the cloud edition is for interacting with Jira’s cloud-based version.
Navigate to AppExchange from your Salesforce dashboard. You should probably see both editions of the connector plugin when searching for Connector for Salesforce and Jira. Choose the one that’s best for your Jira setup and click Get it now. You may be asked to check in using your Salesforce credentials to the AppExchange.
-
Choose between a production and a sandbox installation.
You must decide whether to install the connection plugin in a production or a sandbox environment before it can be added to Salesforce. A production environment is your live Salesforce instance, whereas a sandbox is a virtual clone of your Salesforce instance that does not influence your real data.
If this is your first time merging Salesforce and Jira, you may want to test the Connection in a sandbox to ensure it doesn’t affect data in your Salesforce or Jira accounts accidentally.
-
Salesforce should be updated to include the connector plugin.
Review the installation requirements for your connector plugin and accept the terms and conditions. Then select Confirm and Install from the drop-down menu. You do have an option if you want to you can install the plugin solely for Salesforce administrators, certain users, or all users. To complete the Salesforce connector plugin installation, click Install.
-
In Salesforce, create a remote site.
The next step is to construct a remote site in Salesforce after you’ve installed the connector plugin. You can link your Salesforce environment to an external website—in this Case, your Jira cloud environment—by adding a remote site.
Go to the Salesforce setup menu and look in the panel for remote site settings. Select New Remote Site and give it the name Jira. Enter the following in the Remote Site URL box:
https://sfjc.servicerocket.io/
Click on save.
-
Tokenize your API access.
You must grant Salesforce access to the data in your Jira environment now that Salesforce is connected to Jira via a remote site. This necessitates an API access token, which you’ll obtain from Jira and use to configure the Salesforce connector plugin.
Search for installed packages in the Salesforce setup menu, then locate the connector plugin and click Configure. Fill in the API token box with nothing for the time being.
Switch back to Jira and select Salesforce from the Apps menu. Click on Connections in the left-hand panel, then Add Connection. To connect your Salesforce account, give it a name and then click Authorize. Select API access token from the three dots on the right side of the screen.
Copy the token and paste it into Salesforce’s API token box, then click Save.
-
Make your connection settings unique.

Salesforce and Jira are now completely linked. Projects, tasks, and comments from Jira will display in Salesforce by default, and Salesforce contact data will be available in Jira. You can, however, customize your connection settings for more flexibility.
Navigate to Salesforce via the Apps menu in Jira, then choose Connections, then Configure. the data is controlled automatically pushed to or pulled from Salesforce, as well as whether attachments and comments are synchronized between the two systems, using the sliders. You may also enable email notifications, which will send an email whenever a user makes a change in Jira that is synced with Salesforce or vice versa.
SUMMARY:
Setting up a Salesforce and Jira connectivity allows business teams to share data, manage projects, make deals, and keep customers satisfied all in one place.
Connecting one of the top CRM platforms with one of the top project management platforms takes only a few minutes using Service Rocket’s Salesforce-Jira Connector plugin. You may specify which types of data you are sharing, which users have access to the integration, and more once the integration is complete.
The progress rates of the integration of these two have also shown that with both, the business has seen an increase in effectiveness as you don’t have to say or send an email or plan a meeting after a long time to explain anything to the other members. The communication level is so effective in this way.
The things that you had you write individually are now monitored as an entry you type, and the progress rate and the losses are shown to you. In my opinion, the second method is more effective than the above two. The first method is so complicated.
Things you must note:
When you join up for Jira, you also have the option of choosing between a cloud-based or self-hosted version of the software. Salesforce can integrate both of them. Before you can link with Jira, you’ll need to set up Salesforce. Importantly, Salesforce Essentials, the lowest-tier package for the primary Sales Cloud platform, do not support Jira connection.
Salesforce has begun releasing Salesforce Lightning, a new version of its platform. Salesforce Classic and Salesforce Lightning both integrate with Jira, and the method is the same for both platforms.

Vampire Crawlers Coin Farming Guide

Forza Horizon 6 Performance: Why 60 FPS Is Still the Console Standard

Yoshi and the Mysterious Book (2026) – Full Completion Guide, Rewards & Secret Ending

How to Get Free Pets in Adopt Me: A Guide for Players

Roblox Username Generator – Create a Cool & Unique Username in Seconds
How to Get Free Pets in Adopt Me: A Guide for Players
Yoshi and the Mysterious Book (2026) – Full Completion Guide, Rewards & Secret Ending
Vampire Crawlers Coin Farming Guide


