Android
How to Install Android Apps on Windows 11

With Windows 11, you can now run Android apps on your PC. This new feature has a lot of promise. How to set it up and install your first Android app or game is what we’ll cover in this tutorial.
Read Also: How to Factory Reset Windows 11 Without the Admin Password
What You’ll Need
Android applications are now accessible in the stable channel of Windows 11—but only in the United States as of February 2022. As long as you match the requirements for Windows 11, you will be able to run Android applications without difficulty. Before proceeding, ensure that you have checked for and installed any Windows updates that are available to you.
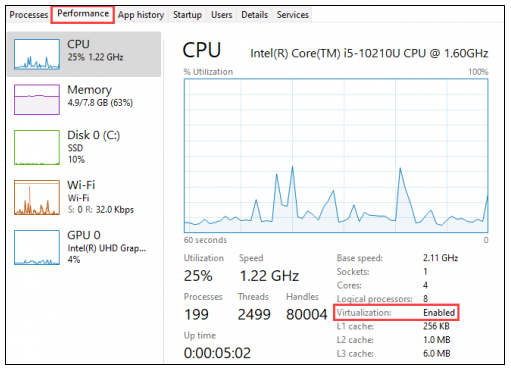
Second, you must have hardware virtualization enabled on your Windows 11 computer. This is important since Windows 11 effectively runs Android in a virtual machine, which is why it is required. You can determine whether or not virtualization is enabled on your computer by selecting the “Performance” option in the Task Manager. (To launch the Task Manager, use Ctrl+Shift+Esc on your keyboard.)
If hardware virtualization is not enabled on your computer, you will most likely need to enable Intel VT-X in the UEFI firmware of your machine (BIOS). If your system is equipped with an AMD processor, check for the AMD-V option in the UEFI firmware settings screen.
Make sure you’re using the most up-to-date version of the Microsoft Store after that. Open the Microsoft Store and make sure all of the programmes listed on the “Library” tab are up to current.
As long as all of these conditions are met, you are ready to proceed! In the event that you have installed any updates to reach this point, it is recommended that you reboot your computer before proceeding.
How to Install Android Apps in Windows 11
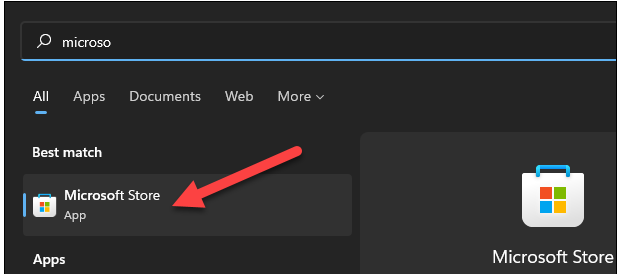
Opening the Microsoft Store is the first thing you should do. Alternatively, enter the Start Menu and type “Microsoft Store” to pin it to the taskbar if it is not already there.
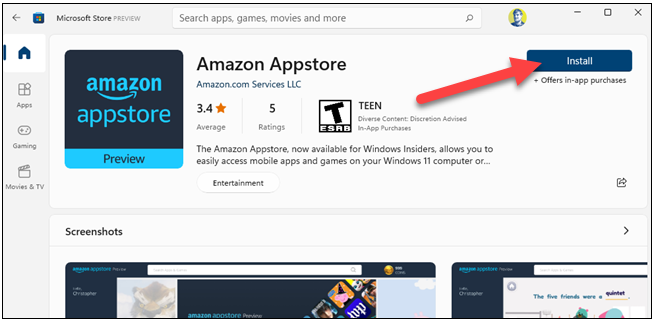
Search for “Amazon Appstore” in the Store’s search bar, or just click this link to view the listing. To proceed, click on the “Install” button.
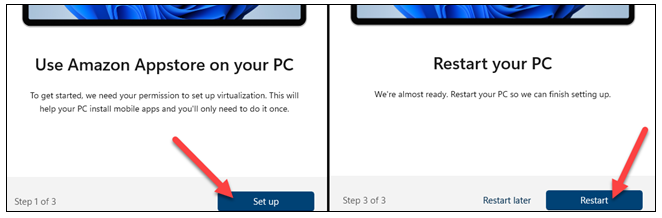
A pop-up window will appear, guiding you through the configuration procedure. After clicking “Set Up,” follow the on-screen instructions to download the Appstore. Last but not least, you will need to “Restart” your computer.
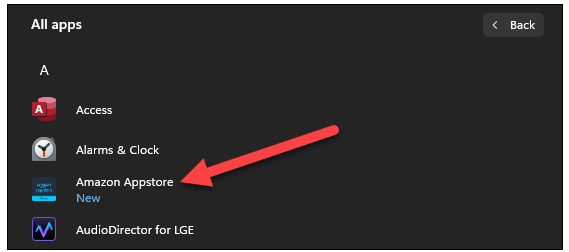
It is possible that the Amazon Appstore may open automatically after the restart. If not, you may find it in the list of programmes on the Start Menu.
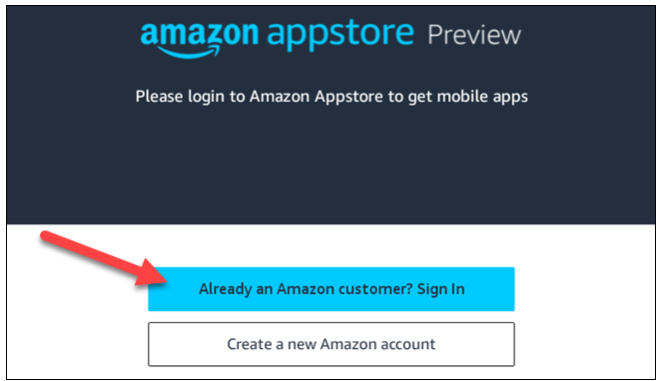
Logging into your Amazon account or creating a new account will be the first step you must do.
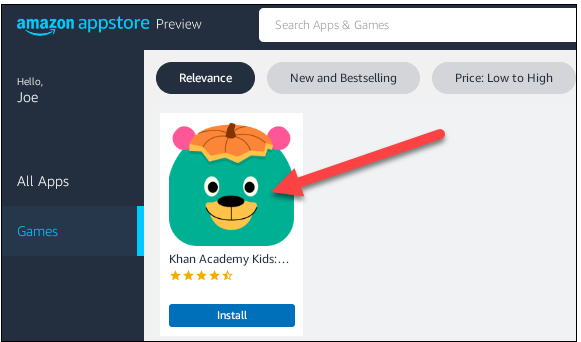
Once you’ve logged in, it operates in the same manner as any other app store you’ve used before. You may either browse through recommendations or do a search for something specific. In any case, choose an application to install.
On the app information screen, select “Install” from the drop-down menu.
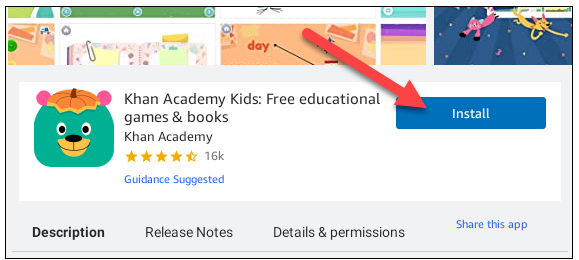
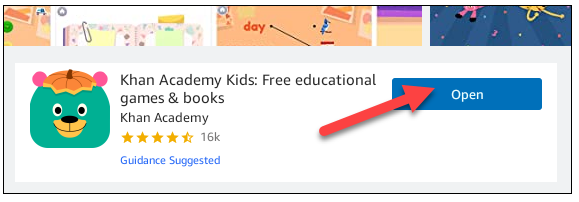
The programme will be downloaded and installed in the background. Then you may click on “Open” after it’s completed.
That’s all there is to it! You have completed the installation of your first Android application on Windows! Android applications are accessible from the Start Menu in the same way that Windows applications are. They can even be pinned to the taskbar in the same way that conventional applications may. Prepare to get your Windows 11 transformed into an Android-based operating system!
Video

Vampire Crawlers Coin Farming Guide

Forza Horizon 6 Performance: Why 60 FPS Is Still the Console Standard

Yoshi and the Mysterious Book (2026) – Full Completion Guide, Rewards & Secret Ending

How to Get Free Pets in Adopt Me: A Guide for Players

Roblox Username Generator – Create a Cool & Unique Username in Seconds
How to Get Free Pets in Adopt Me: A Guide for Players
Yoshi and the Mysterious Book (2026) – Full Completion Guide, Rewards & Secret Ending
Forza Horizon 6 Performance: Why 60 FPS Is Still the Console Standard


